


Although as big a beast as Apache Hadoop is in Big Data world, with the ability to scale from a single server to thousands, it is often needed to use Hadoop with versatile additional functionalities to accomplish diverse Big Data tasks. By taking advantage of Hadoop’s modular architecture and open-ended framework, many organizations packaged Hadoop by bundling it up together with various big data tools to cater diverse set of enterprise needs. One of the most widely used distributions of Hadoop is Cloudera that provides all of the required software and administrative UIs along with Hadoop core as a single package CDH.
In this blogpost we will be setting up Cloudera on Docker and will run a simple MapReduce job on Hadoop. We will point out the nitty-gritty aspects of installation and the issues that can consume a lot of time in troubleshooting.
Setting up Cloudera Quickstart
In the first part, we will focus on setting up Cloudera Quickstart image to run inside Docker. As a prerequisite, Docker must be set up on your machine.
1. Make sure Docker is running on your system and pull Cloudera Quickstart image from cloud using Docker pull Cloudera/quickstart:latest

As of now, cloudera/quickstart image is 4.4GBs and downloading may take a bit long depending on your connection bandwidth. Once done, please check by running sudo docker images You will see a cloudera/quickstart image too in the images listed.
2. Once the image has been pulled, we will go ahead and run the image using the following command:
docker run --hostname=quickstart.cloudera --privileged=true -t -i \
 -v /home/mariam/project:/src -p 8888:8888 -p 80:80 -p 7180:7180 cloudera/quickstart /usr/bin/docker-quickstart
The command contains various flags explained below:
[table id=2 /]
Running the container will start various services exposed by Cloudera.
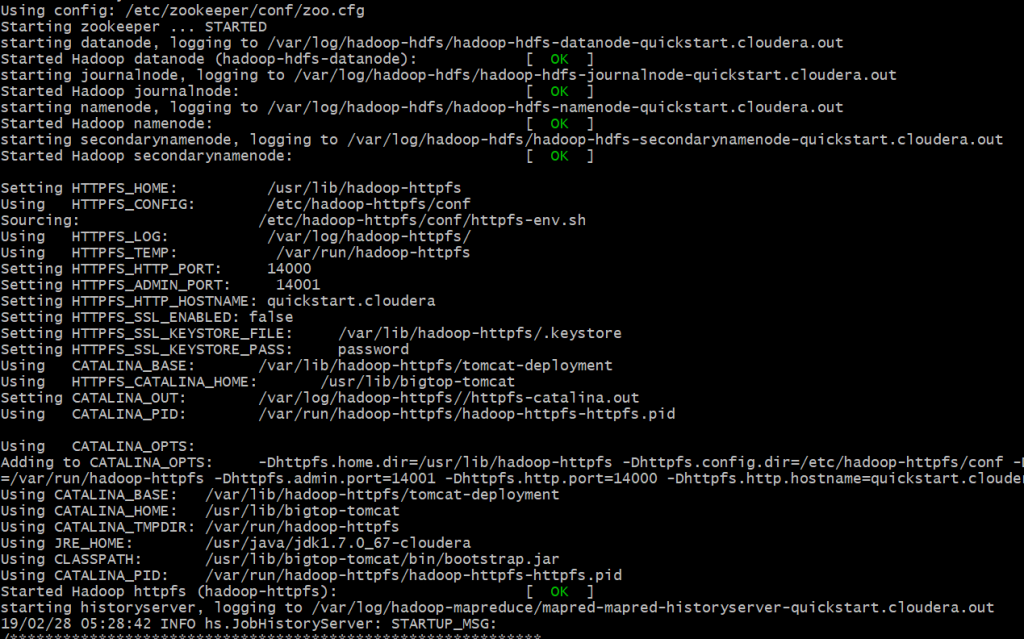
Upon successful execution, the mounted volume with files is now available in /src directory inside Cloudera container.

Sometimes HUE (Hadoop User Interface) fails while various other services start fine during the container startup.
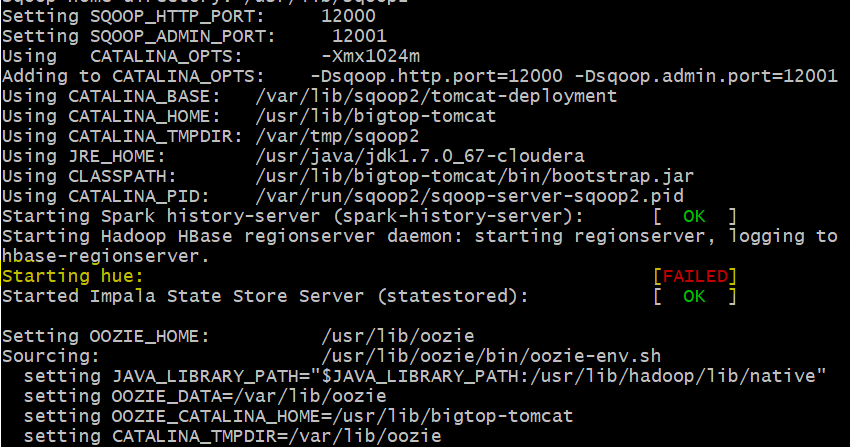
Along with various other packages that come bundled with CDH, HUE is one of the most widely used package. HUE provides a web based query editor to analyze, visualize and share data in Hadoop stack.
Even though, sometimes, Failed message is shown for HUE server, it actually starts a while later. To independently start HUE or to check if it is actually running use command:
sudo service hue start

The command will either start the service if it is not already up or will show the running status of the service.
3. Now we access HUE from the web browser on the port 8888 using default credentials:
Username: cloudera
Password: cloudera
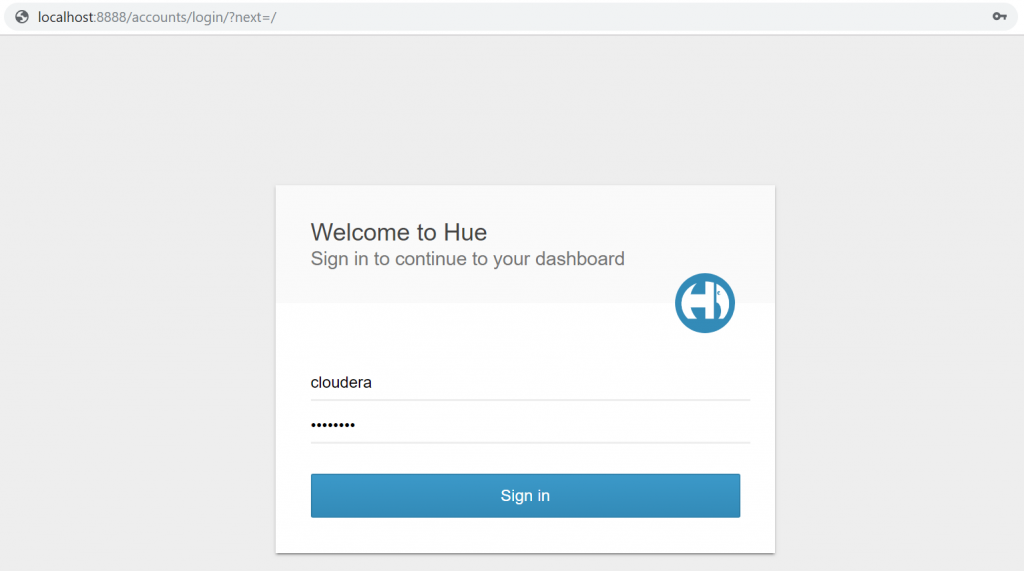
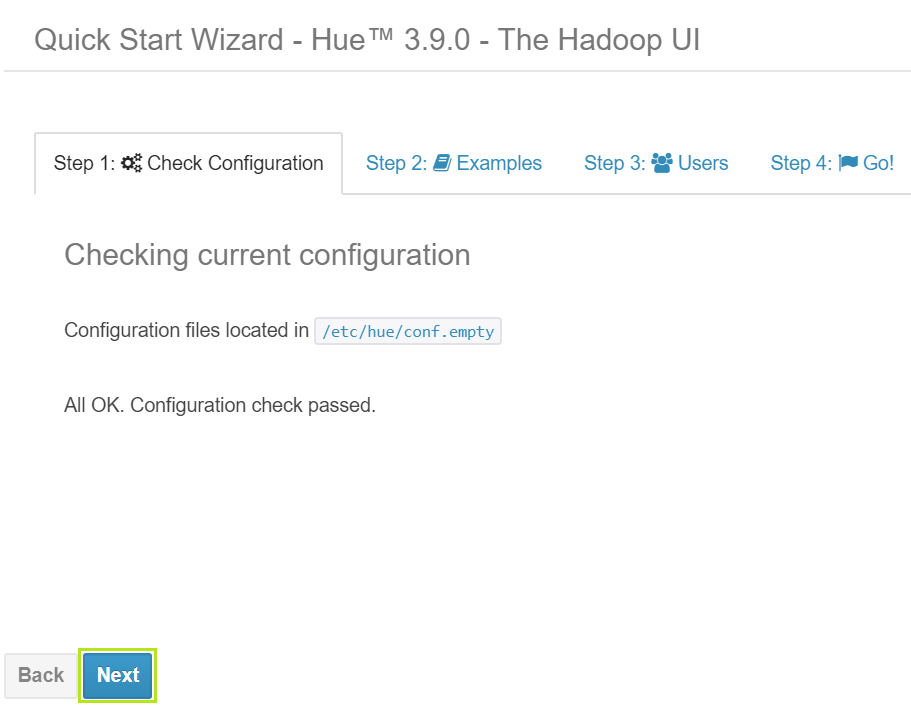
Logging in will take you to HUE home with default Quick Start active tab. Go through the quick start by following the wizard using Next button.
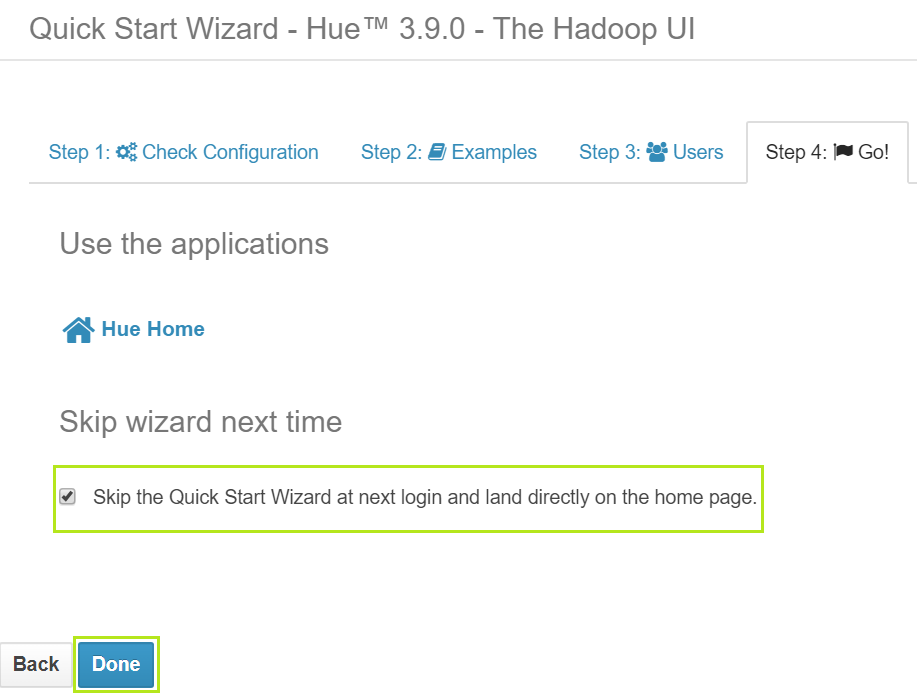
When gone through all steps, check ‘Skip Wizard Next Time’ option and click Done.
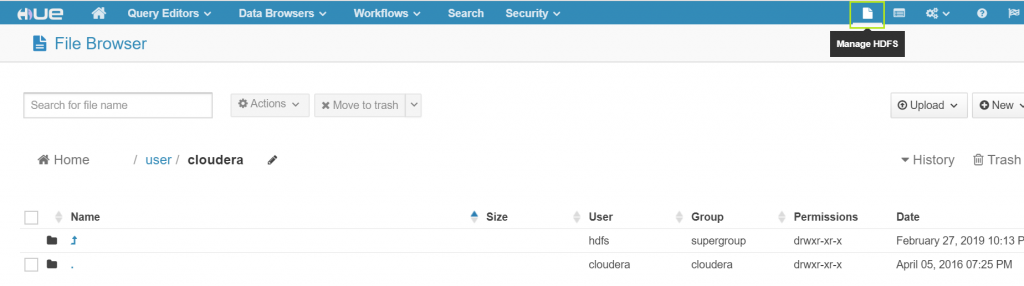
Being a web platform for analyzing and visualizing data, HUE provides graphical interface to manage Hadoop Distributed File System. Use the first icon on top right of title bar to go to HDFS manager.

Running MapReduce job with Cloudera Quickstart
Once Cloudera Quickstart is running smoothly, it is time to move ahead to run a simple MapReduce job on Hadoop with Cloudera Quickstart. If you would like to understand exactly what map reduce is, please check here: Understanding MapReduce with Hadoop.
The job is meant to count by value all the words appearing in an example text file. Full code for the exercise can be accessed from Folio3 AI Github repo.
1. We will use dummytext.txt file as input text, mapper.py as Python script for Map Phase and reducer.py as Python script for Reduce Phase.
dummytext.txt
Folio3 introduces ML.
Folio3 introduces BigData.
BigData facilitates ML.
mapper.py
"""mapper.py"""

import sys

# input comes from STDIN (standard input)
for line in sys.stdin:
    # remove leading and trailing whitespace
    line = line.strip()
    # split the line into words
    words = line.split()
    # increase counters
    for word in words:
        # write the results to STDOUT (standard output)
        # tab-delimited words with default count 1
        print '%s\t%s' % (word, 1)
reducer.py
"""reducer.py"""

import sys

current_word = None
current_count = 0
word = None

# input comes from STDIN
for line in sys.stdin:
    # remove leading and trailing whitespace
    line = line.strip()

    # parse the input we got from mapper.py
    word, count = line.split('\t', 1)

    # convert count (currently a string) to int
    try:
        count = int(count)
    except ValueError:
        # count was not a number, so silently
        # ignore/discard this line
        continue

    # prepare mapper.py output to be sorted by Hadoop
    # by key before it is passed to the reducer
    if current_word == word:
        current_count += count
    else:
        if current_word:
            # write result to STDOUT
            print '%s\t%s' % (current_word, current_count)
        current_count = count
        current_word = word

# to output the last word if needed
if current_word == word:
    print '%s\t%s' % (current_word, current_count)
Save these files in the mounted volume.
2. The first step to run the job with Hadoop is to make the input file available to HDFS. Achieve this by using command:
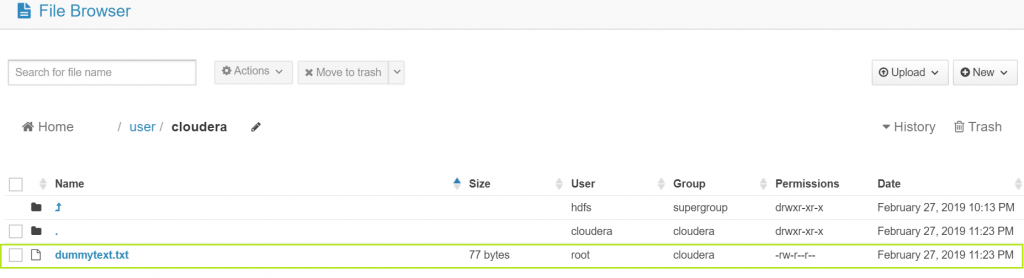
hdfs dfs -put /src/dummytext.txt /user/cloudera
You can view the file in HDFS by accessing HUE and going to the HDFS manager.
3. Finally, it is time to actually start the job using command:
sudo hadoop jar /usr/lib/hadoop-mapreduce/hadoop-streaming.jar \
-file /src/mapper.py -mapper "python mapper.py" \
-file /src/reducer.py -reducer "python reducer.py" \
-input /user/cloudera/dummytext.txt -output /user/cloudera/wordcount
Seems like a lot is going in the command! Let’s break it down to bits and understand what it entails.
[table id=3 /]
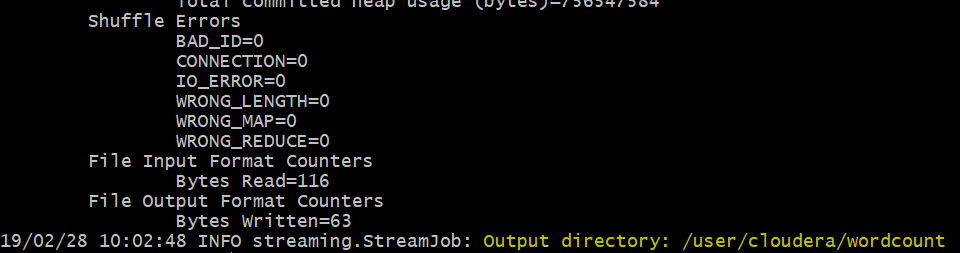
Once the job completes successfully, the logs will show the path of output directory.
It is important to note that we provided the executor statement for mapper as:
-file /src/mapper.py -mapper “python mapper.py”
It is possible to provide only the filename to execute the file without the following python like:
-file /src/mapper.py -mapper mapper.py
But for that, you need to include #!usr/bin/python at the top of all your python scripts depending where your python installation lies. The #! is called a shebang and allows your script to be executed like a standalone executable without typing python in front of it.
4. Go to HUE interface once again and check the HDFS manager. A new directory named ‘wordcount’ will appear.
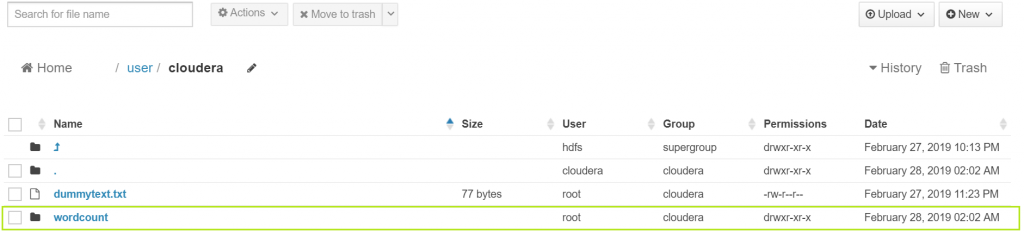
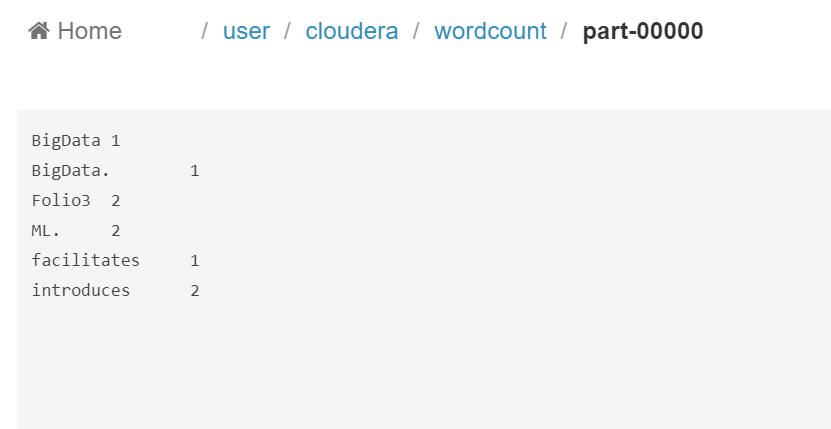
Go to the ‘wordcount’ directory, a file named ‘part-00000’ will be there.

Open the file and you will see the final output.
And that’s it! In this blogpost we learnt setting up Cloudera Quickstart and run a simple MapReduce job in it. Fiddle around with the code and get your hands dirty with Cloudera Quickstart. Happy programming!

Connect with us for more information at [email protected]